5 Tips for better photos
“What camera should I buy?”
This is probably the most popular question I get asked over the years.
When I dig a little deeper, what people actually want is to learn photography without breaking the bank.
My answer to the question now would be: Don’t bother to get one! Phone camera does the same job just fine. You could get good shots with any cameras if you can harness the tips I’m about to share.
1. Contrast between your subject and background

Try to use the primary shape as the subject and look for the color-contrast background to go against it. This bright red maple leaf lands right on top of a pile of yellow maidenhair tree leaves. These two complement each other so well.
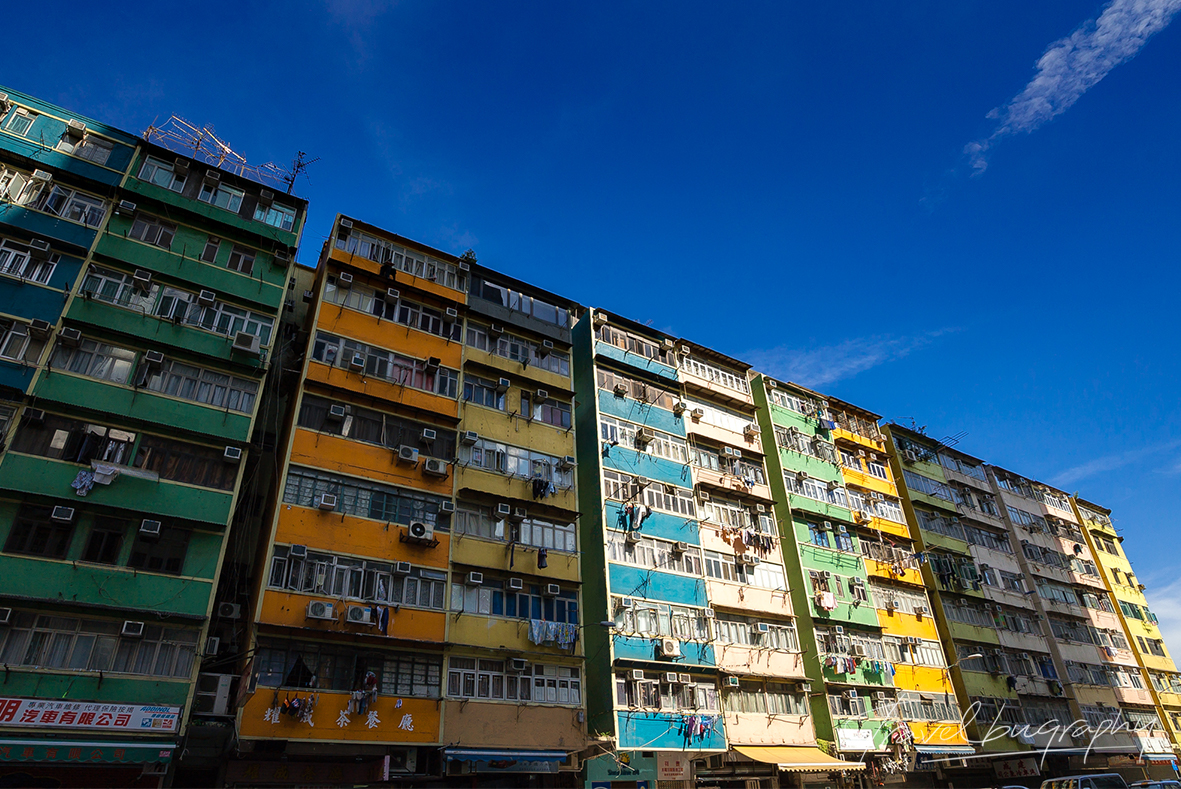
Hong Kong is known as a city where East meets West. I took a stroll in the older part of the city called To Kwa Wan. The nostalgic neighborhood was built in the 60s. I was drawn to the rainbow colors and a glimpse of light. They almost look like Lego blocks. And the weather couldn’t be better! The blue sky makes the perfect canvas.
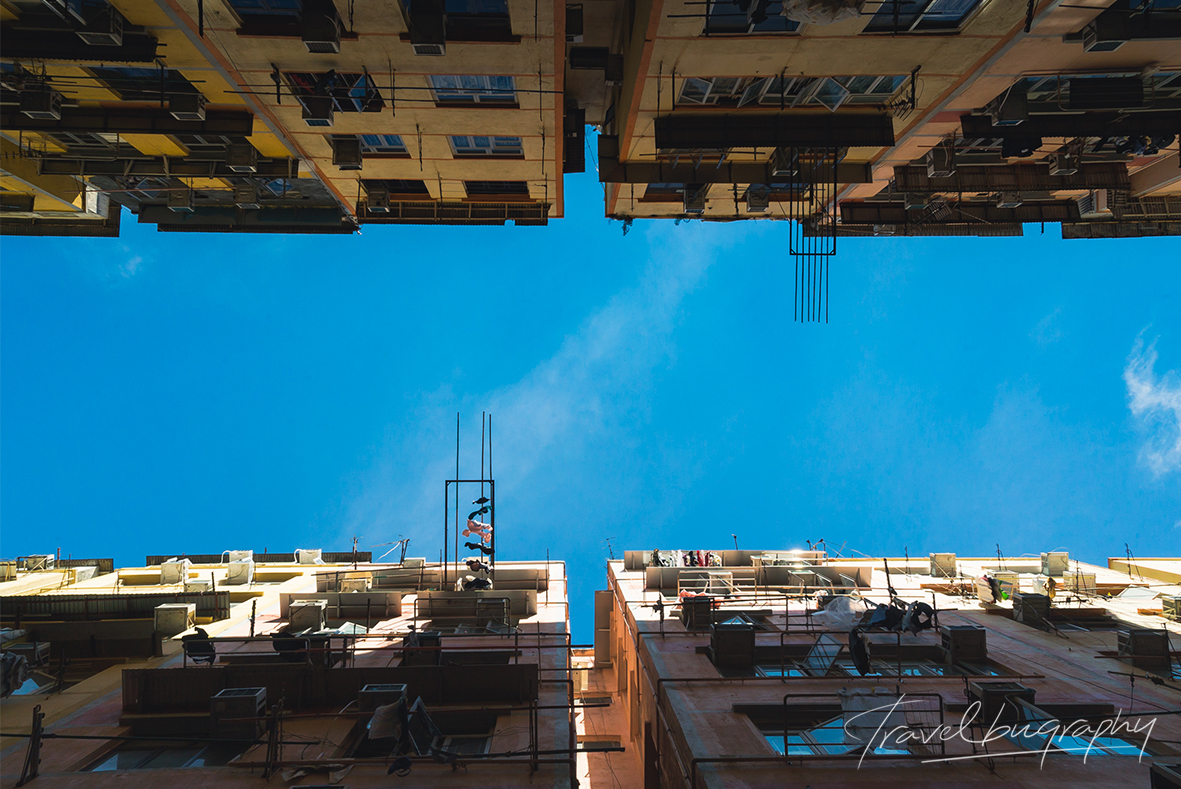
Old towns are usually photogenic. When you take a walk down the street, you will see car repair shops, tuck shops, vacant shops, and some recycling shops. I took some portraits of dwellers. I will share with you in the future when we talk about street photography. I saw bamboo poles above my head. It’s the old-style laundry drying racks. And there was another one echoing on the other side. I immediately associated this with dialogue and communication. I can imagine this is how people talk to each other in the past. Again, the clear sky is an impeccable touch.
2. One point perspective and Symmetry
It’s self-explanatory. Make sure the vanishing point is aligned to the center and the extended lines are straight. It should be balanced left and right.


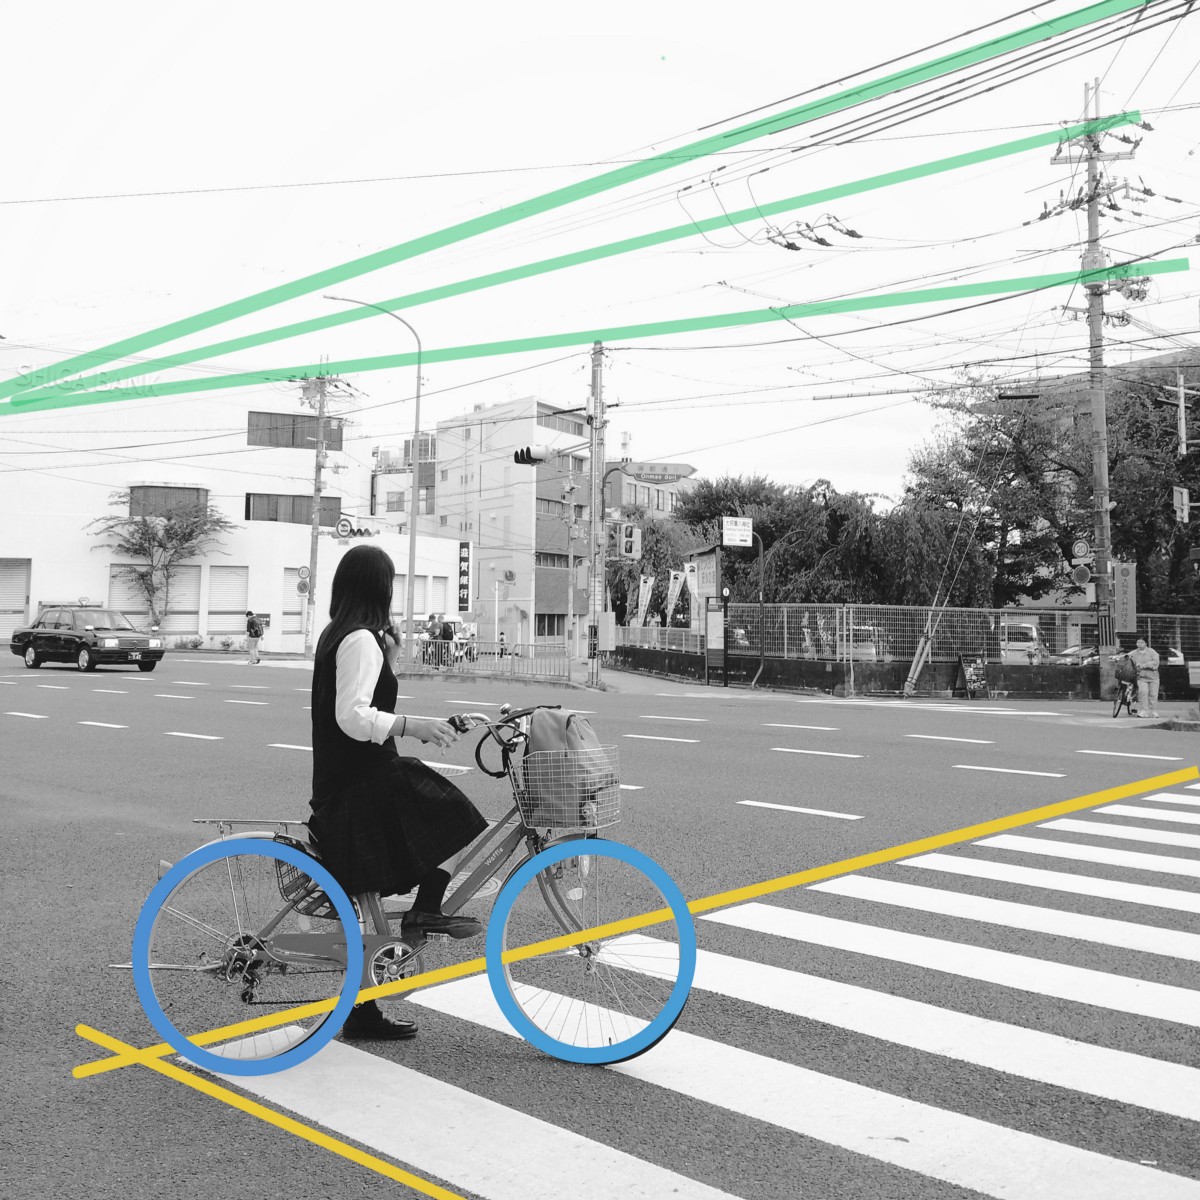
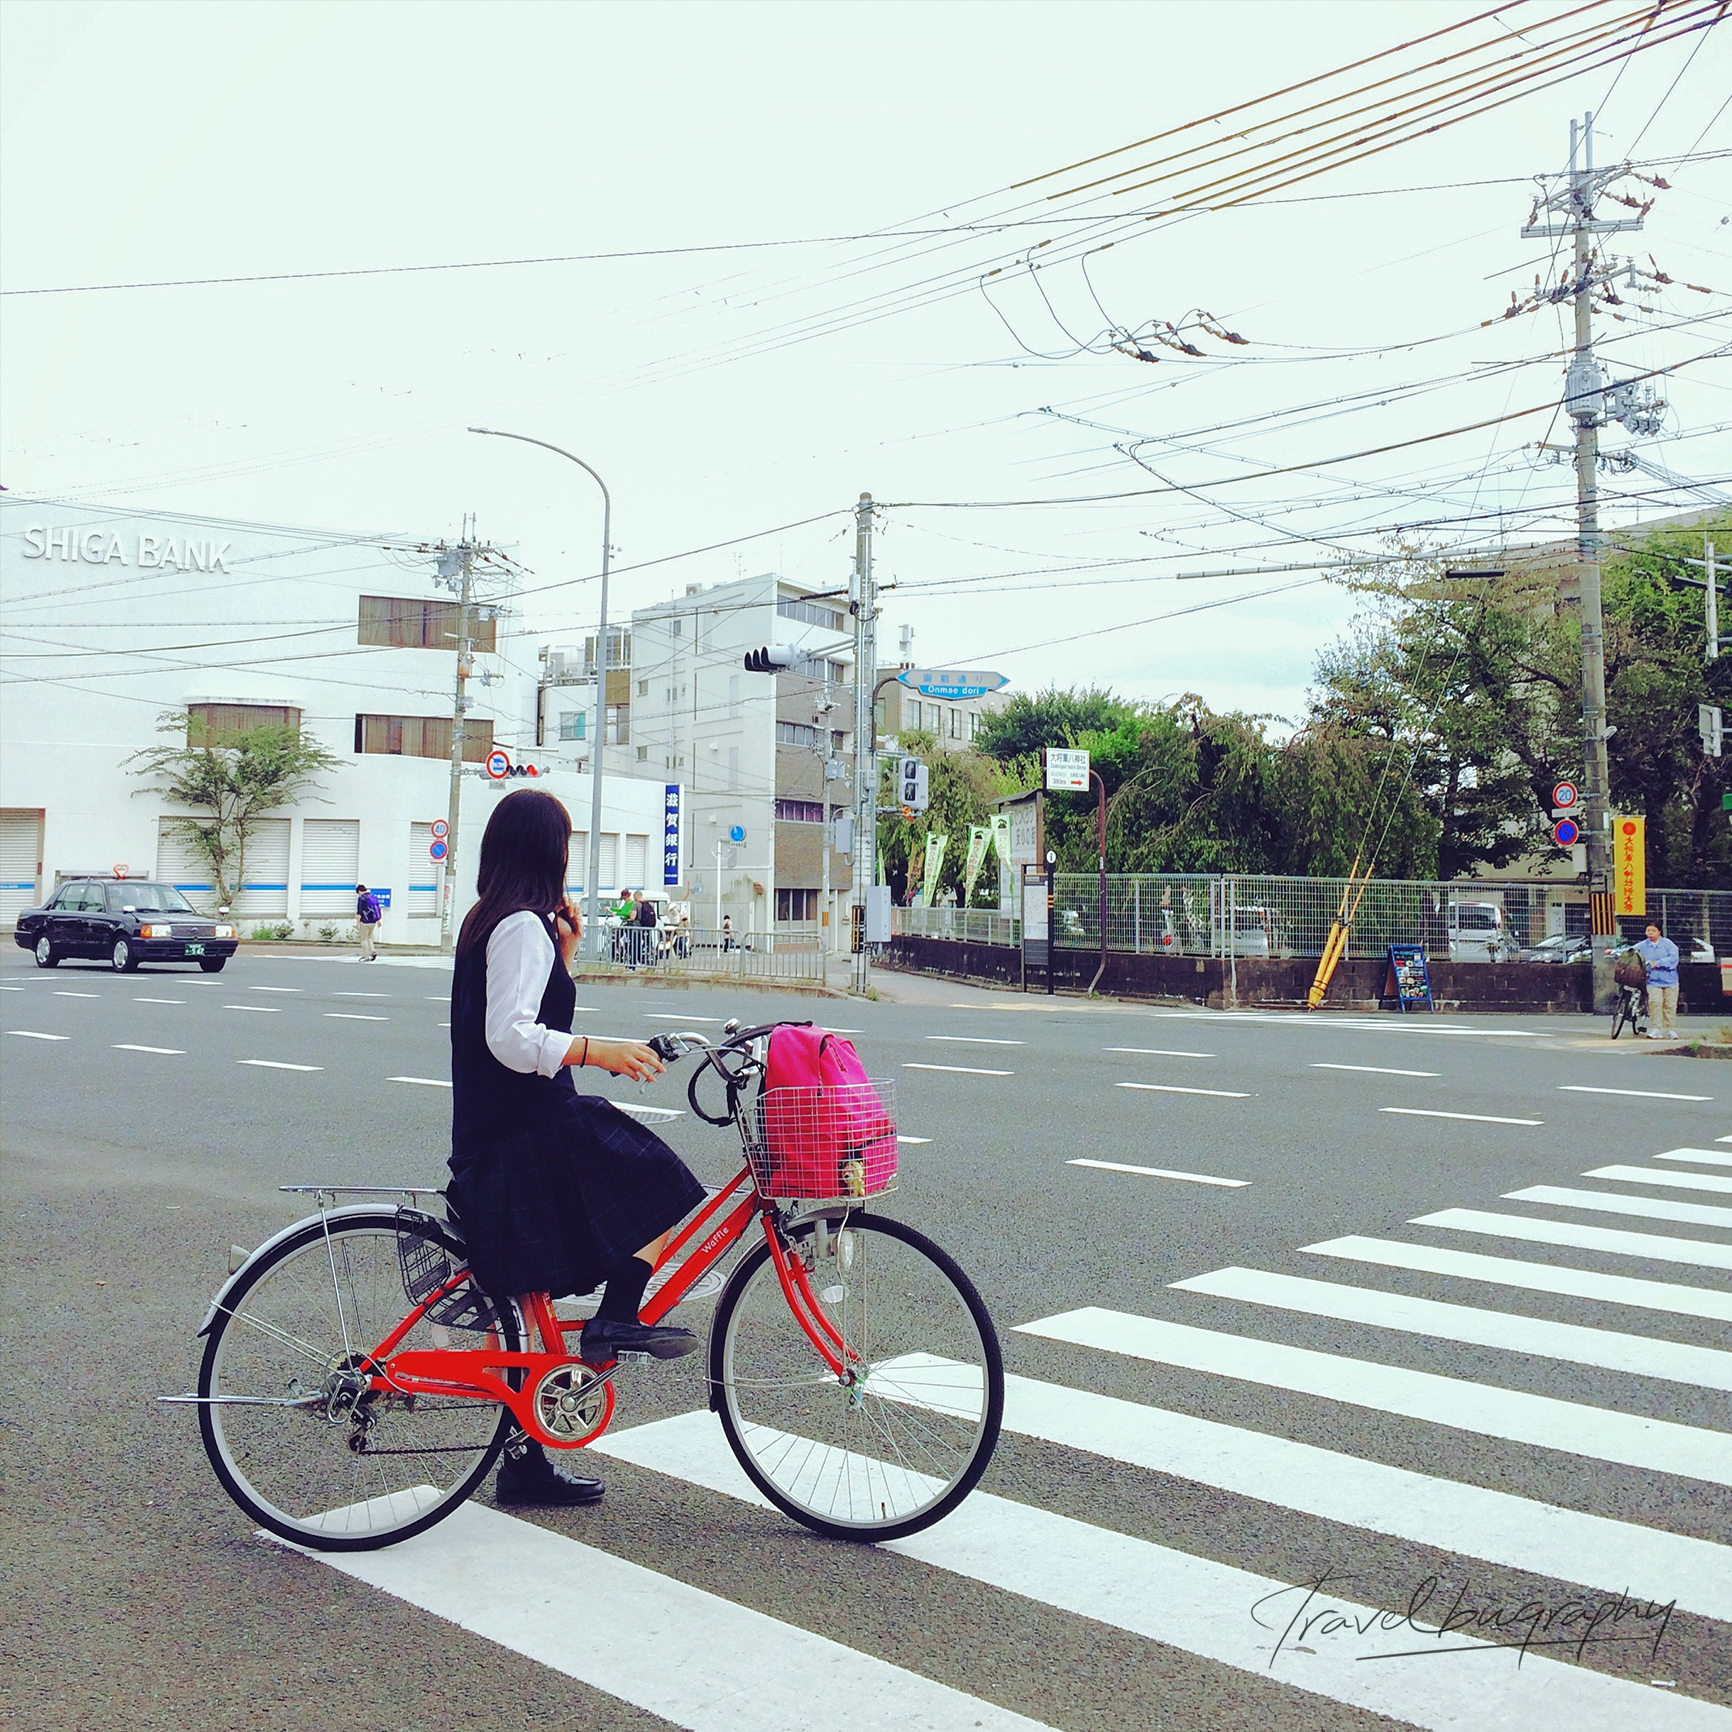
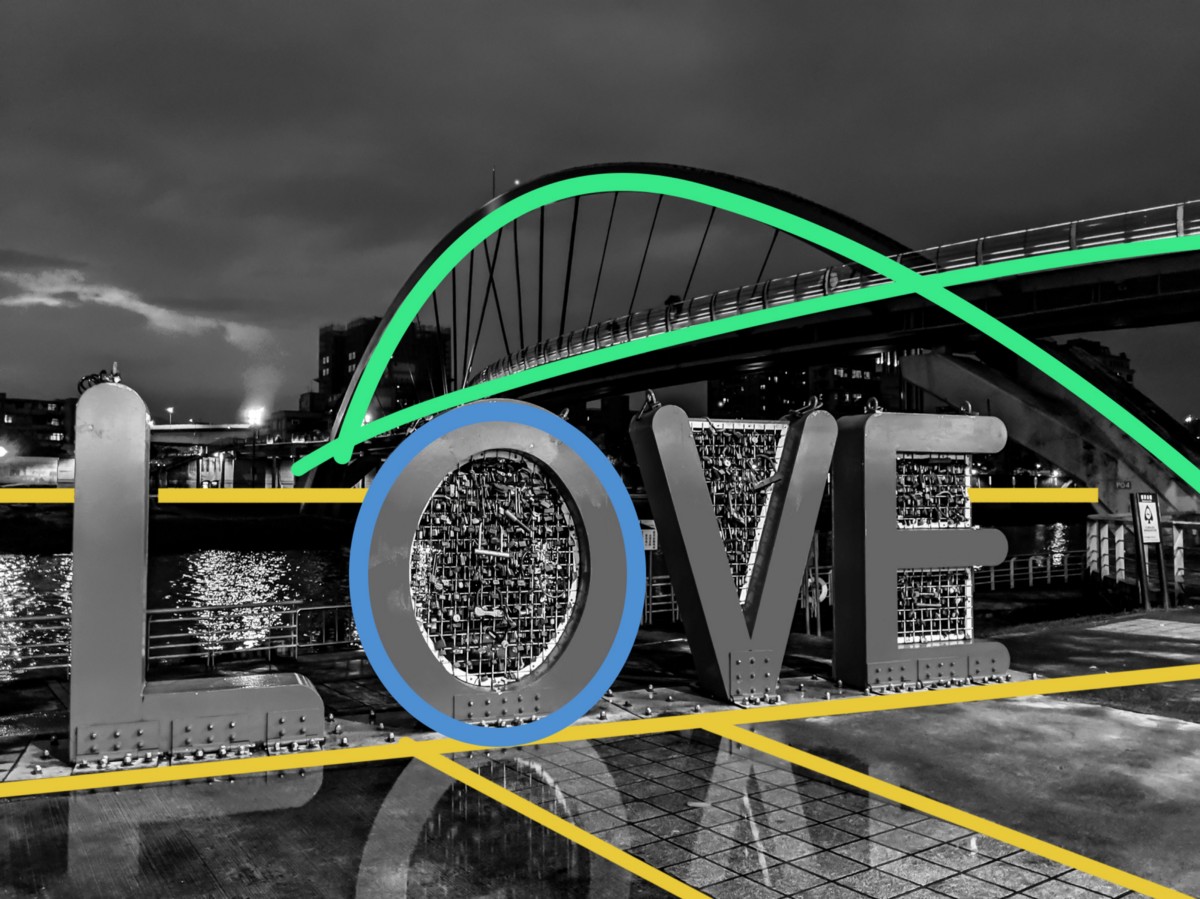
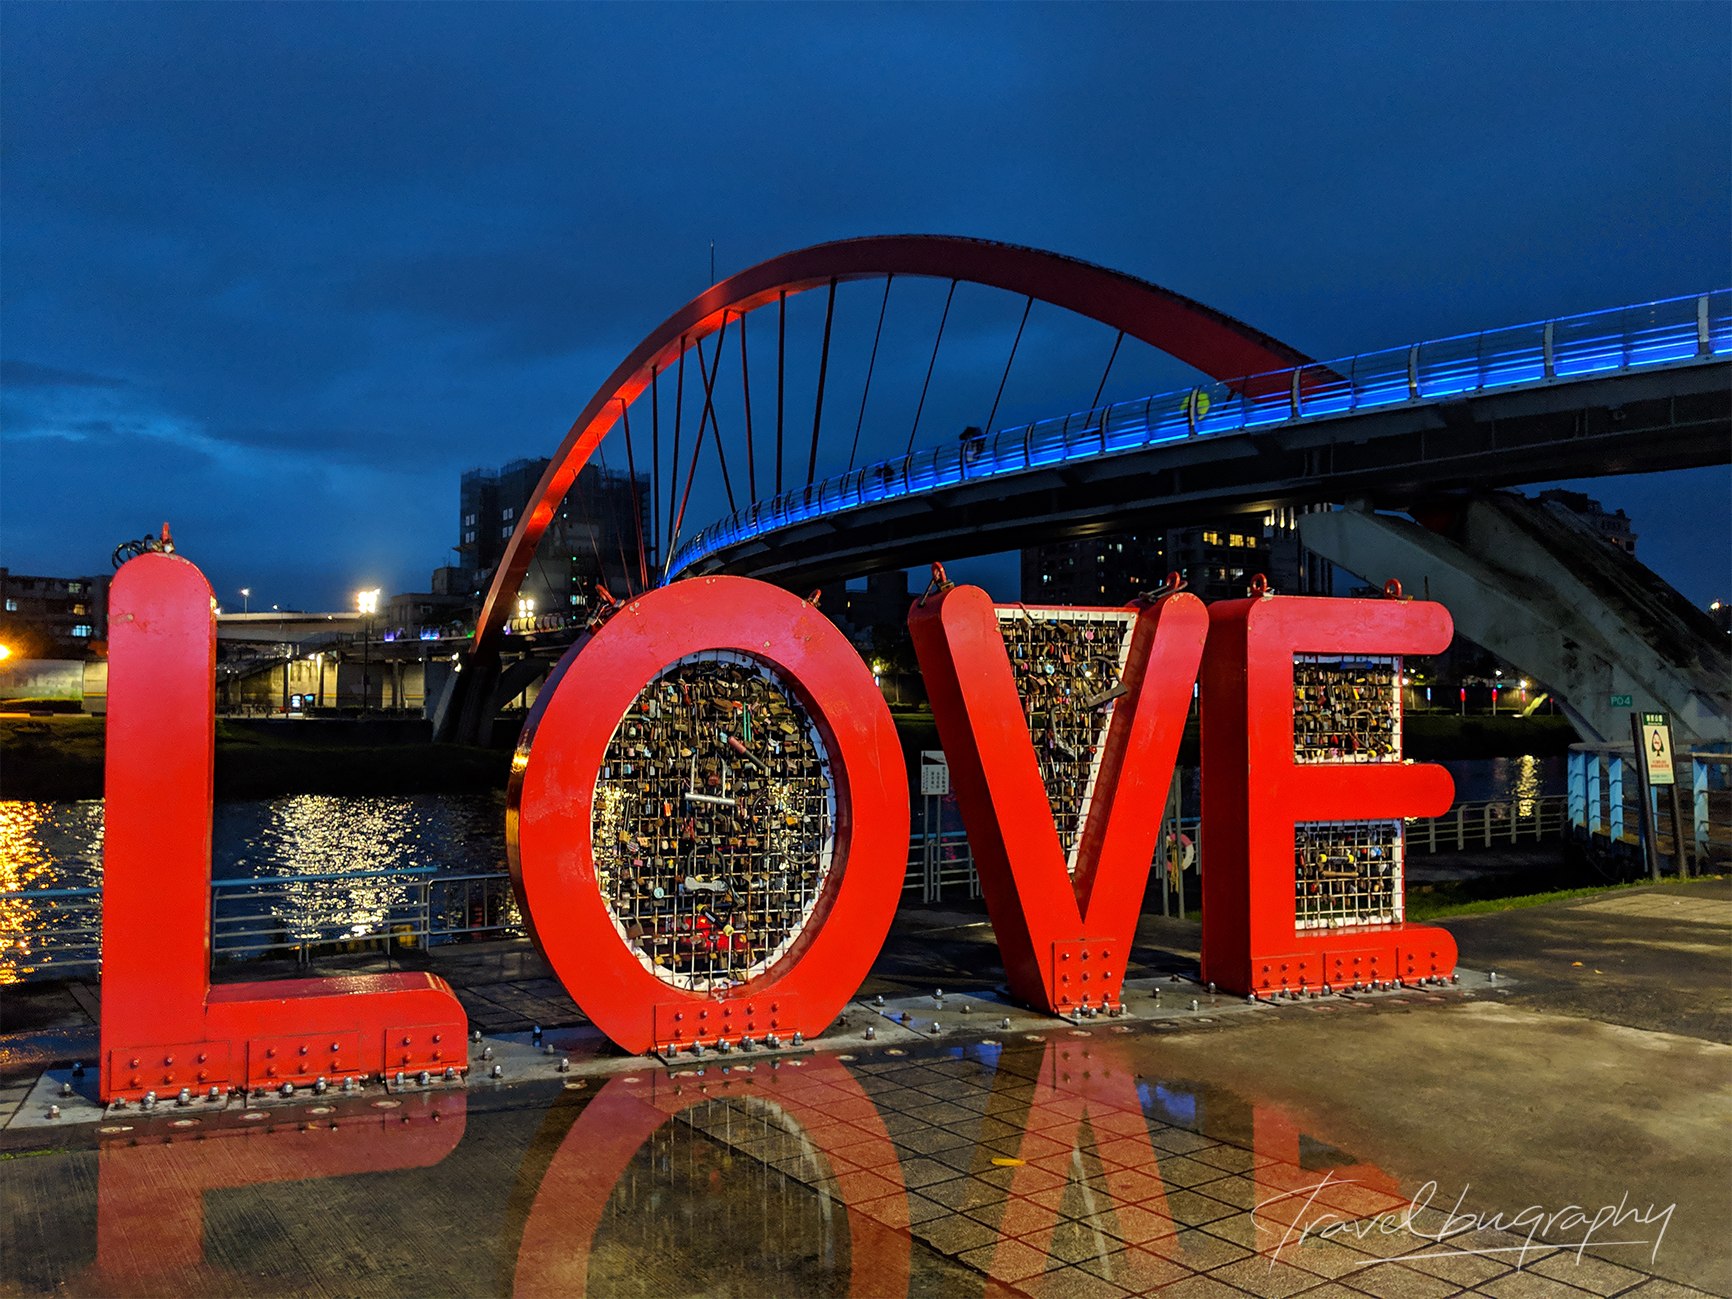
3. Leading Lines
When it comes to composition, you have probably heard of the golden ratio and the rule of thirds. There are plenty of materials out there. You can go and look it up with just a few clicks. I am not going into details. Once you understand these 2 concepts, it doesn’t hurt to improvise a little. I have marked the graphical elements- curves and edges below for your reference.
4. Silhouette
To create the silhouette effect, first make sure the camera faces toward the light source during sunset. Second, set smaller apertures like f/16 or f/22, then put a person or object in front. The daylight lit it up from behind. Your eyes are lead to the outline of the subject.Sunrise would be nice too!

5. Rhythm
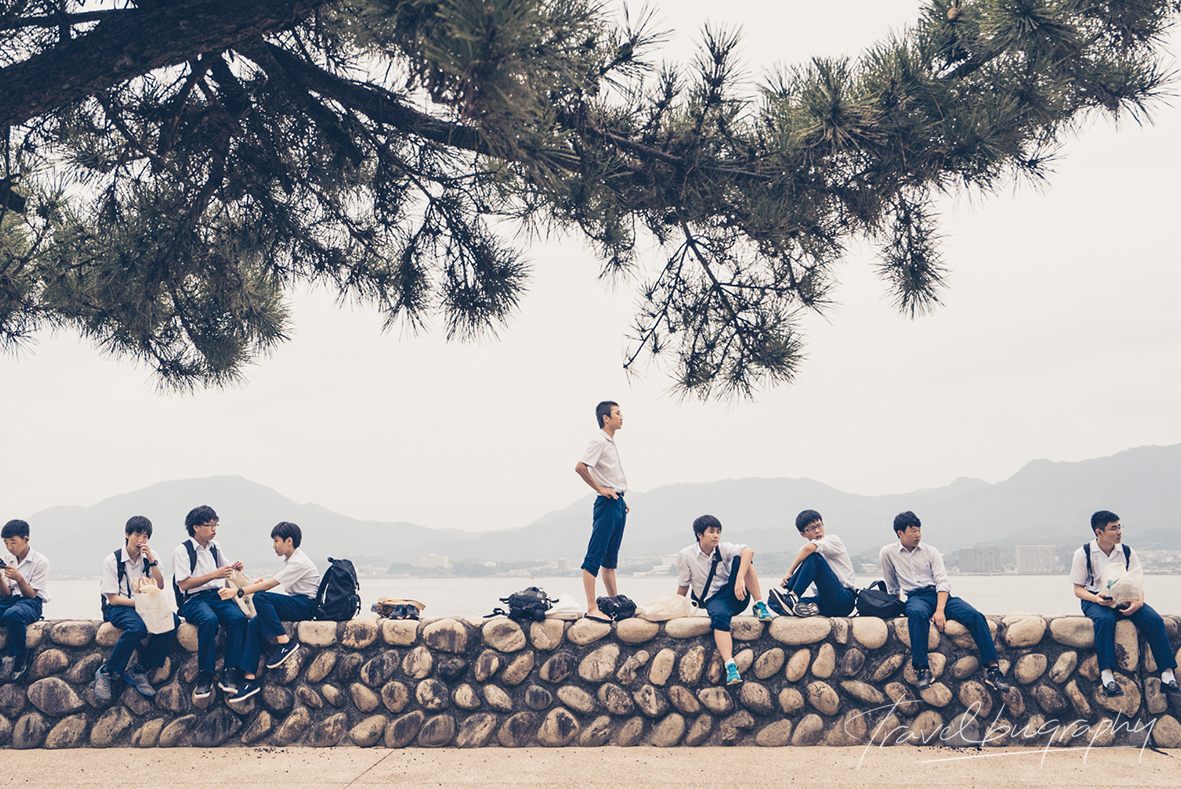
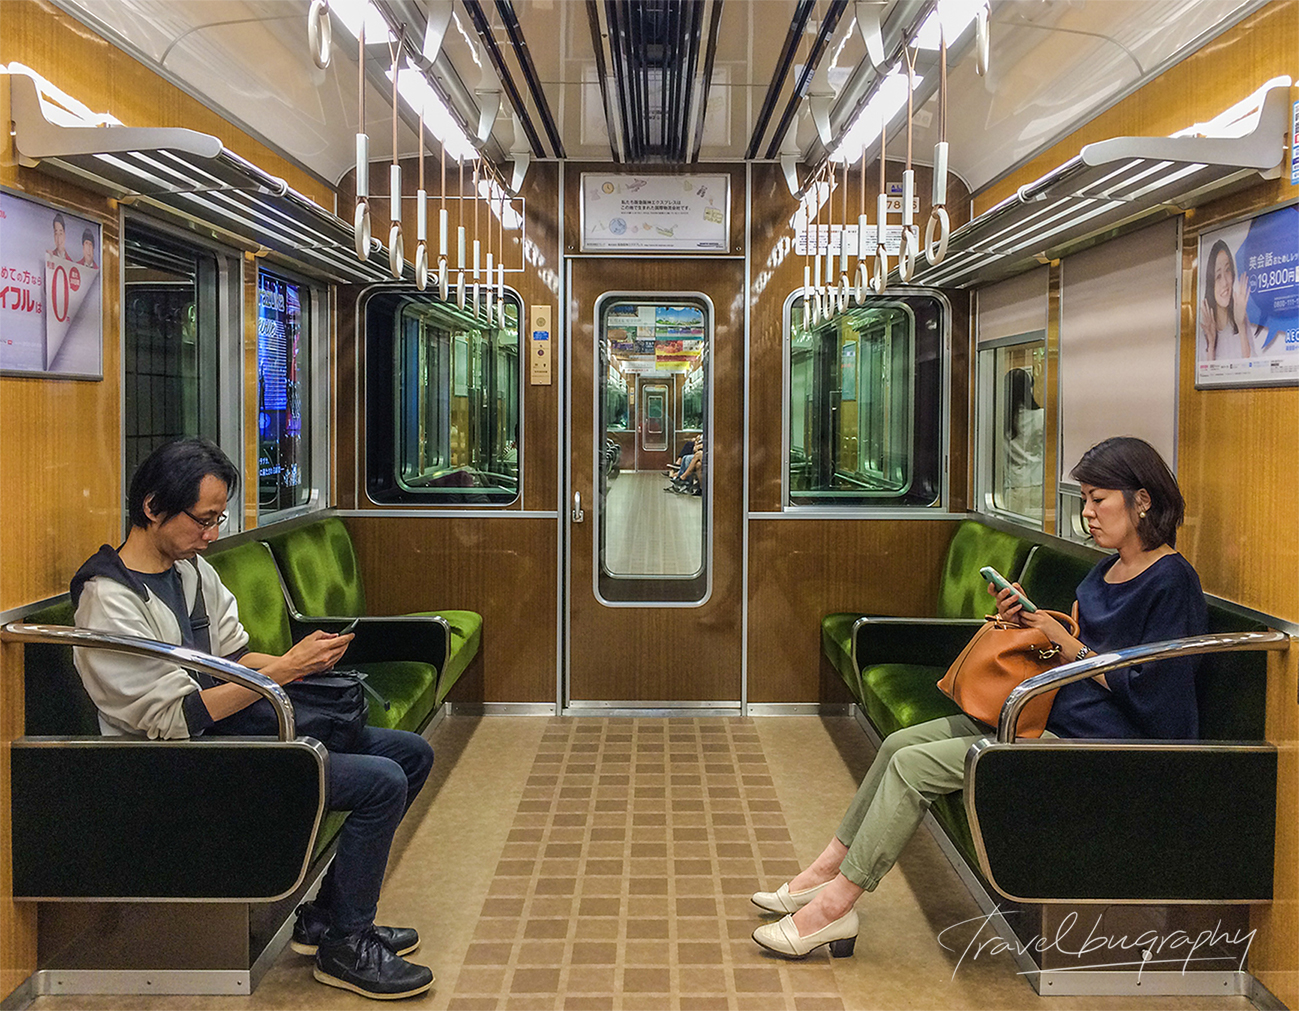
This photo was taken in Miyajima, Japan. A bunch of students sitting by the sea. Very interesting framing. Same uniform but different postures. In this case, it’s a question about proportion and scale. I would like to take a wide shot to fit more people in the frame. So I took a step back and now the branch got in the shot. It looked coherent with the students. The misty mountain view also adds to it.
_
Last but not least- Flat background
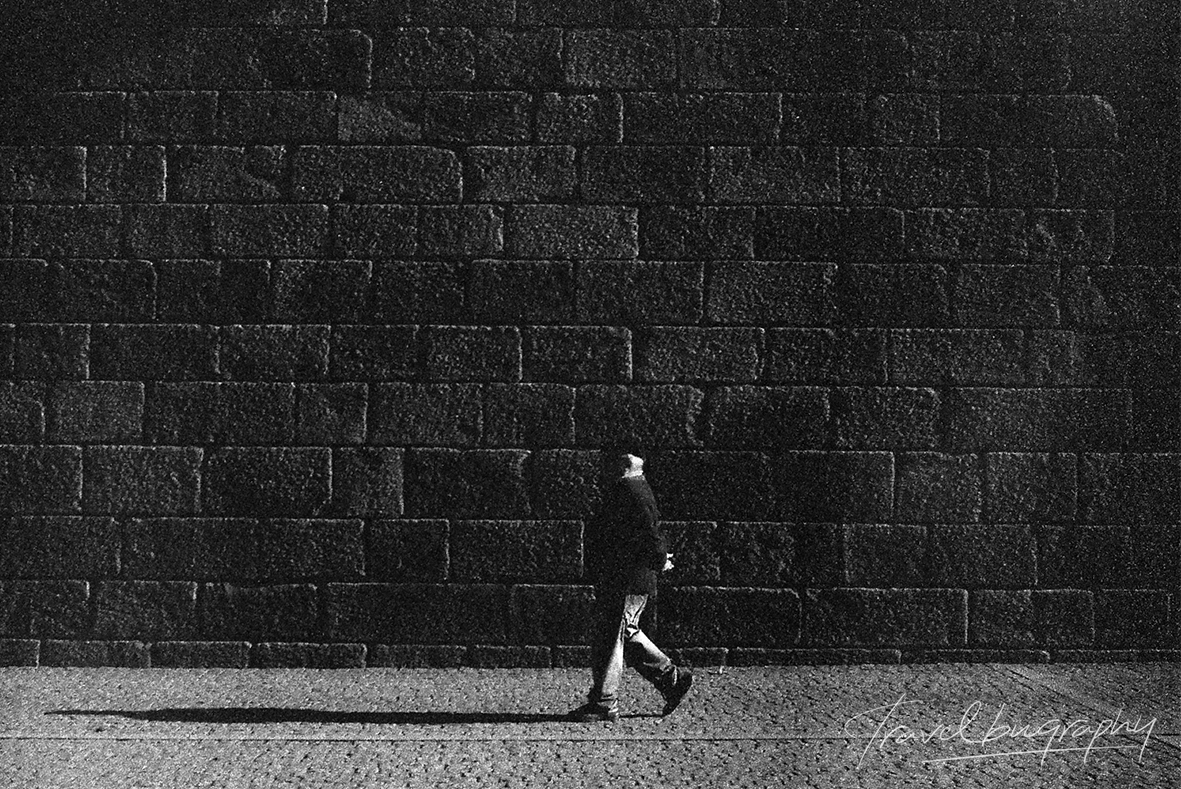
I walked alongside this gentleman in Portugal and instantly he caught my attention. He was wearing a hat. His hands were folded behind the back. Both the hat and the gesture reminded me of a character in Sherlock Holmes. I took a step back and looked through the viewfinder. I noticed the stone wall on the side. The light was perfect! Casting a long shadow on the ground. You can’t see the gentleman’s face. It makes it more mysterious. In this scene, the stone wall is the backdrop, the raw texture gives you a sense of toughness.
There you go. My tips on framing and composition. Give it a go and let me know the results!